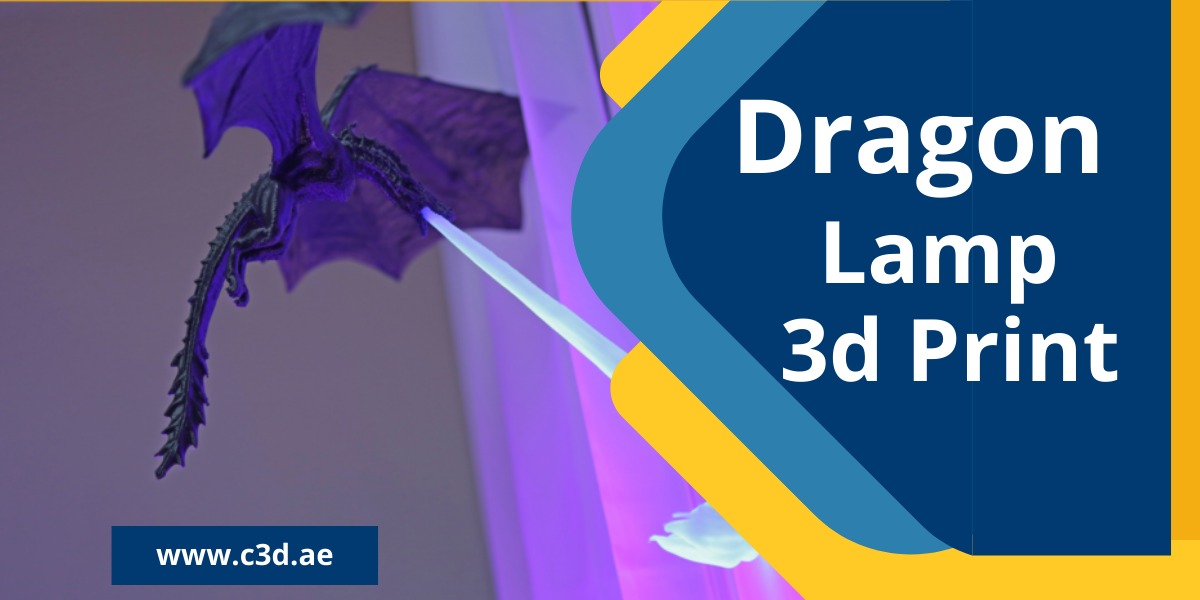
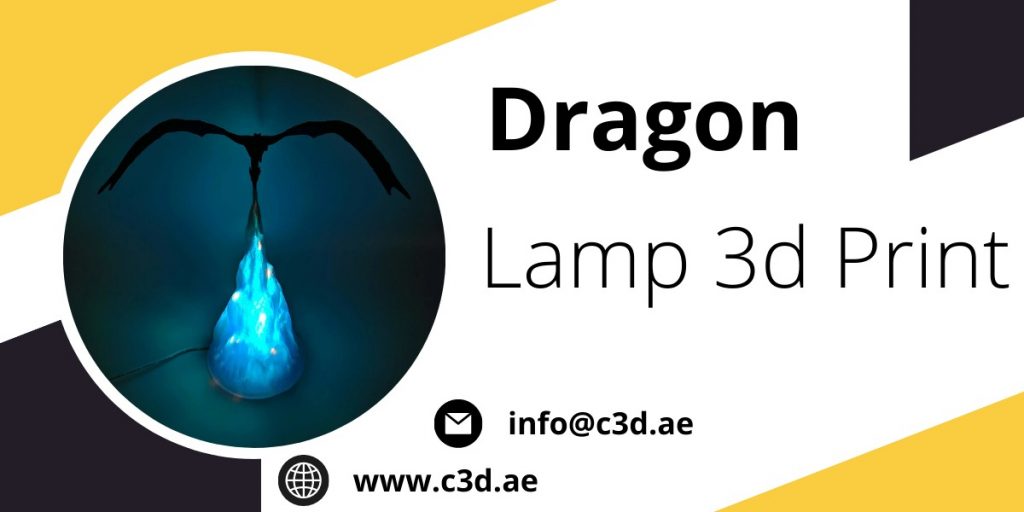
Wish to add some fiery magic into your room decor? Need an extraordinary lighting fixture that will leave everyone awestruck? Look no further than the Dragon Lamp 3D Print! This mythical creature-inspired lamp is not only beautiful and unique, but also can be personalized to match your home’s interior.
Imagine having a dragon as a guardian of light in your living space – it’s impressive, right? Let us show you how you can create this amazing piece using modern 3D printing technology. So, buckle up and let’s dive into the world of dragons and DIY lamps!
How to make a dragon lamp
You will need the following materials:
- A 3D printer
- A dragon lamp model (you can find this online or design your own)
- Filament for your 3D printer (we recommend PLA or ABS)
- A power drill
- Drill bits
- Wire cutters
- A hot glue gun
Instructions:
- Download or design a dragon lamp model. We recommend finding one online as there are many different and cool designs to choose from. If you want to design your own, make sure it is in a format that your 3D printer can read (.stl, .obj, etc.)
- Print out your model using filament of your choice. We recommend using PLA or ABS as they are easy to work with and produce strong prints.
- Once your print is complete, use a power drill and the appropriate drill bit to create a hole in the base of the dragon lamp where you will thread your wire.
- Cut a length of wire that will reach from the outlet to the location of your dragon lamp.
- Use wire cutters to strip the ends of the wire so that they can be easily inserted into the drilled holes.
- Thread one end of the wire through the hole in the base of the dragon lamp and twist it to secure it in place. Get More Category Post Visit.
- Insert the other end of the wire into the outlet and twist it to secure it in place.
- Finally, use a hot glue gun to secure the dragon lamp model in place.
3D Printing for Rapid Prototyping
For businesses that need to quickly develop and test product prototypes before going into production, rapid prototyping is a critical process. Rapid prototyping has undergone a revolution thanks to 3D printing technology, which provides quicker turnaround times and more affordable options.
Rapid prototyping is one of the many 3D printing services offered by the C3D 3D printing company in Dubai to companies of all sizes. C3D can produce high-quality prototypes in a fraction of the time it would take using conventional manufacturing techniques thanks to their cutting-edge 3D printing technology and skilled team.
Businesses can quickly iterate and improve their designs thanks to this, which decreases time to market and ultimately increases the likelihood of success.
3D Design And Printing Company In Dubai
C3D Printing is a 3D design and printing company based in Dubai, UAE. C3D offers a wide range of 3D design and printing services to businesses and individuals, enabling them to turn their ideas into reality.
C3D’s team of experienced designers uses the latest software and technology to create high-quality 3D designs that are optimized for 3D printing. C3D also offers a wide range of materials and finishes, so you can customize your product to suit your needs. Contact C3D Team today to learn more about the 3D printing Company.
What you need
In order to make your very own dragon lamp, you will need the following:
- A 3D printer
- Filament (PLA or ABS plastic works best)
- A design for your dragon lamp (see below for some great options!)
- Dragon Lamp STL files (download here)
- Patience!
Steps
If you want to add a little bit of fun and excitement to your home décor, then why not try printing your own dragon lamp? This project is perfect for anyone who loves dragons or wants to add a touch of whimsy to their décor. Plus, it’s a great way to show off your 3D printing skills!
In this article, we’ll walk you through the steps necessary to print and assemble your very own dragon lamp. We’ll start by discussing the design of the lamp, then move on to choosing the right materials and printer settings. After that, it’s time to get printing! Once your printed parts are complete, we’ll show you how to assemble them into a finished lamp.